

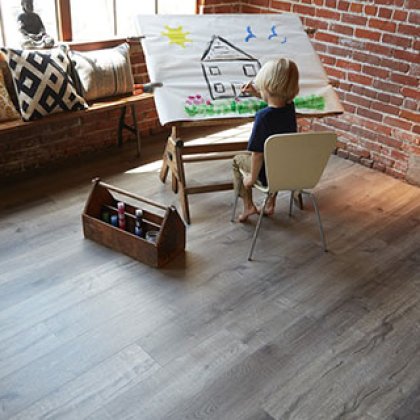
Elevate Your Home with Our Laminate Flooring Installation Tips
Welcome to our comprehensive guide on DIY laminate flooring installation tips. Whether you're a seasoned DIY enthusiast or just starting out, we're here to help you elevate your home with stunning laminate flooring. With our expert advice and step-by-step instructions, you'll be able to transform any room into a beautiful and functional space.
Installing laminate flooring can seem like a daunting task, but with the right guidance and tools, it can be a rewarding and cost-effective project. From saving on installation costs to enjoying the satisfaction of doing it yourself, laminate flooring is a popular choice for homeowners across the country.
In this article, we'll cover everything you need to know about laminate flooring installation. We'll start by discussing why laminate flooring is an excellent option for your DIY project and the benefits it offers. Then, we'll guide you through the preparatory steps before diving into the installation process. We'll help you select the right laminate flooring and ensure you have all the necessary tools and materials at hand. Finally, we'll provide you with a detailed step-by-step guide and troubleshoot common issues that may arise during the installation process.
So, whether you're looking to update your living room, kitchen, or bedroom, our laminate flooring installation tips will give you the confidence to tackle this project head-on and create a space you can be proud of.
Key Takeaways:
- Installing laminate flooring yourself can save you money and give you a sense of accomplishment.
- Proper preparation is crucial before starting the installation process.
- Choosing the right laminate flooring is essential for a successful installation.
- Having the right tools and materials is crucial for the job.
- Following a step-by-step guide will make the installation process easier and more efficient.
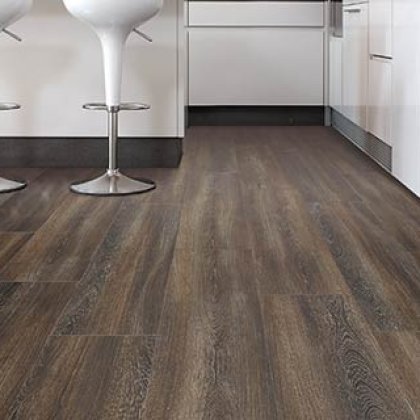
Why Choose Laminate Flooring for Your DIY Project
When it comes to embarking on a DIY project to transform your home's floors, laminate flooring is an excellent choice. With its myriad of benefits, laminate flooring offers a versatile and budget-friendly solution that allows you to create a stunning space without breaking the bank.
Laminate flooring has gained immense popularity over the years due to its affordability and durability. Unlike solid hardwood or tile flooring, laminate flooring is a cost-effective alternative that provides the look and feel of more expensive options. This makes it an ideal choice for budget-conscious individuals who desire a high-end aesthetic without the hefty price tag.
Not only is laminate flooring easy on the wallet, but it is also incredibly durable. The wear-resistant surface layer protects against scratches, spills, and even fading from sunlight exposure, ensuring that your floors preserve their beauty for years to come. This durability makes laminate flooring a perfect choice for high-traffic areas such as living rooms, kitchens, and hallways.
quote: "Laminate flooring is a game-changer for DIY enthusiasts. Its affordability, durability, and ease of installation make it a popular choice for homeowners looking to revamp their spaces." - Jane Turner, Home Renovation Expert
One of the most significant advantages of laminate flooring is its ease of installation, making it an ideal project for DIY enthusiasts. Unlike other flooring options that may require professional expertise, laminate flooring can be installed with minimal tools and technical know-how. With its simple click-and-lock system, even those with limited DIY experience can achieve professional-looking results.
In addition to its affordability, durability, and ease of installation, laminate flooring offers limitless design options. With a wide range of colors, patterns, and textures available, you can easily find laminate flooring that complements your home's style and ambiance. Whether you prefer the timeless elegance of hardwood or the sleek modernity of stone, there is a laminate flooring option to suit your aesthetic preferences.
By opting for laminate flooring for your DIY project, you not only save money and time but also elevate the overall appeal of your home. Its versatility, durability, and cost-effectiveness make it an excellent investment that enhances the beauty and value of your space.
Preparing Your Space for Laminate Floor Installation
Before diving into the laminate floor installation process, it's essential to properly prepare your space. This will ensure a smooth and successful installation, allowing you to enjoy your new laminate flooring for years to come. In this section, we'll guide you through the essential steps to make your installation process easy and hassle-free.
1. Measure the Area
The first step is to accurately measure the area where you plan to install the laminate flooring. This will help you determine the amount of flooring you'll need to purchase. Measure the length and width of the room, and don't forget to account for any nooks, angles, or alcoves.
2. Prepare the Subfloor
Next, you need to ensure that the subfloor is clean, dry, and level. Remove any existing carpet, tile, or vinyl flooring. If there are any imperfections or uneven areas on the subfloor, use a floor leveling compound to make it smooth and even.
3. Acclimate the Laminate Flooring
Before the installation, it's crucial to acclimate the laminate flooring to the room's temperature and humidity levels. Remove the planks from their packaging and let them sit in the room for at least 48 hours. This will allow the flooring to adjust to the environment, minimizing the risk of expansion or contraction after installation.
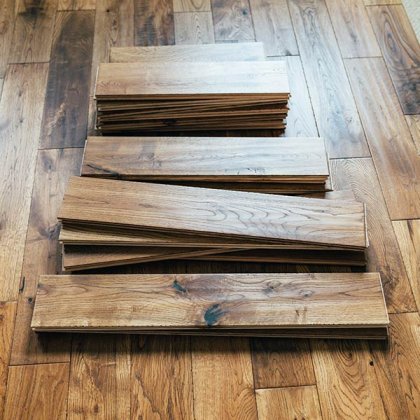
4. Gather the Necessary Tools and Materials
Ensure you have all the tools and materials required for the installation process. Here's a list of the essential items you'll need:
- Laminate flooring
- Underlayment
- Tape measure
- Spacers
- Utility knife
- Chalk line
- Safety goggles
- Gloves
- Tapping block
- Pry bar
- Hammer
5. Inspect the Laminate Flooring
Before you start installing the laminate flooring, inspect each plank for any defects, damage, or color variations. This will allow you to identify and replace any problematic planks before they are installed.
By following these preparatory steps, you'll ensure a seamless and successful laminate floor installation. Now that you're ready to begin the installation process, proceed to the next section to learn the step-by-step guide for installing laminate floors on your own.
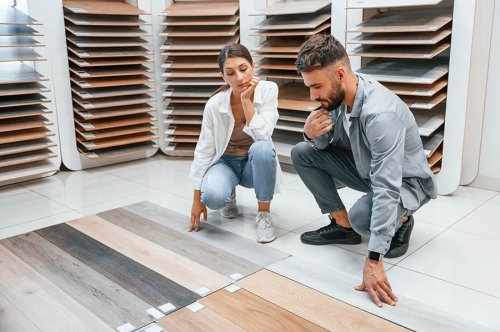
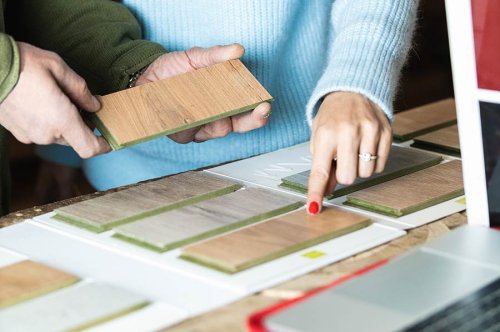
Selecting the Right Laminate Flooring
When it comes to laminate flooring, not all options are created equal. It's important to choose the right laminate flooring for your DIY project to ensure a successful installation and long-lasting results. In this section, we'll provide you with expert advice on selecting the perfect laminate flooring for your needs. From considering thickness and finishes to examining durability and style, we'll guide you through the decision-making process.
Factors to Consider when Selecting Laminate Flooring
1. Thickness: The thickness of laminate flooring plays a significant role in its durability and stability. Thicker laminate floors tend to be more resistant to wear and tear, making them ideal for high-traffic areas of your home.
2. Finishes: Laminate flooring comes in a variety of finishes, ranging from high gloss to textured. Consider the look and feel you want to achieve in your space and select a finish that complements your overall aesthetic.
3. Durability: Look for laminate flooring that is specifically designed for high durability. Some laminates have scratch-resistant surfaces, which can be beneficial if you have pets or young children.
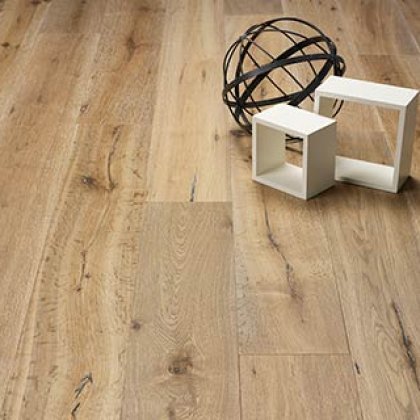
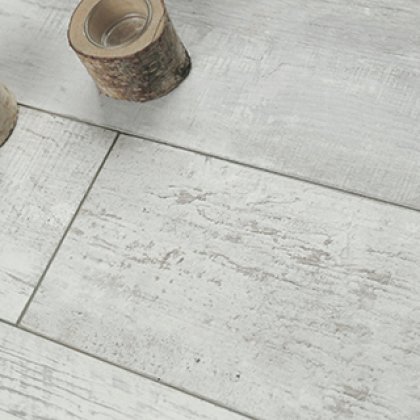
4. Style: Laminate flooring offers a wide range of styles, such as wood, stone, and tile looks. Think about the design theme of your home and choose a laminate flooring that enhances the overall ambiance.
Comparing Different Laminate Flooring Brands
| Brand | Thickness | Finishes | Durability | Style Options |
|---|---|---|---|---|
| Brand A | 8mm | High gloss, matte | Scratch-resistant | Wood, tile |
| Brand B | 10mm | Textured, hand-scraped | Water-resistant | Stone, wood |
| Brand C | 12mm | Embossed, satin | Impact-resistant | Tile, stone, wood |
Table: Comparison of Different Laminate Flooring Brands
By comparing different brands and their features, you can make an informed decision and choose the laminate flooring that meets both your aesthetic preferences and practical needs. Remember to consider your budget as well, as laminate flooring comes in a range of price points.
Now that you have a better understanding of how to select the right laminate flooring, you're one step closer to a successful DIY laminate floor installation. In the next section, we'll discuss the essential tools and materials you'll need for the job.
Essential Tools and Materials for Laminate Flooring Installation
When it comes to laminate flooring installation, having the right tools and materials is essential for a successful project. In this section, we'll outline the must-have items you'll need to ensure a smooth and professional-looking installation. From cutting tools to adhesive, we've got you covered.
Tools
Here are the essential tools you'll need for laminate flooring installation:
- Measuring tape: Accurate measurements are crucial for a precise fit.
- Utility knife: Use a sharp utility knife to cut laminate planks to size.
- Saw: A circular saw or a jigsaw can be used to cut planks, especially for any angled or intricate cuts.
- Hammer: Use a hammer with a rubber mallet or a tapping block to gently tap the planks into place.
- Undercut saw: This tool is handy for trimming door jambs and other obstacles to ensure a seamless installation.
- Pry bar: A pry bar will help remove any existing baseboards or trim before installing laminate flooring.
- Spacers: Spacers are used to maintain the proper expansion gap between the laminate flooring and the walls.
- Level: A level will help you ensure that the subfloor is even and the laminate flooring is laid correctly.
Materials
In addition to the tools mentioned above, you'll need these materials for a smooth laminate flooring installation:
- Laminate flooring: Choose laminate flooring that suits your style and complements your space.
- Underlayment: A good quality underlayment provides sound insulation and helps smooth out any minor imperfections in the subfloor.
- Adhesive: Depending on the type of laminate flooring you choose, you may need adhesive to secure the planks together.
- Trim: Transition pieces, such as baseboards and quarter round trim, help create a finished look along the edges and transitions between rooms.
Now that you know the essential tools and materials needed for laminate flooring installation, you're ready to tackle your DIY project with confidence. Remember to gather all the necessary items before starting to ensure a seamless process and professional-looking results.
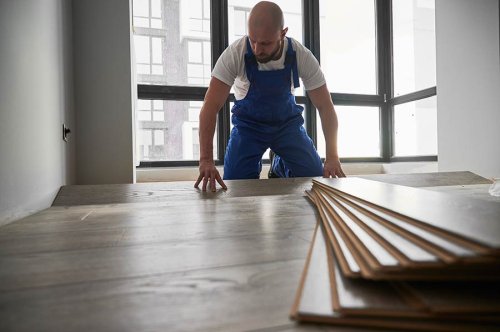
Step-by-Step Guide to Installing Laminate Floors
Now that you're prepared, it's time to tackle the installation process. Follow our step-by-step guide to installing laminate floors yourself and transform your space with ease.
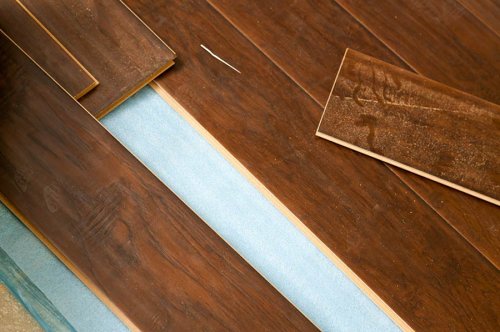
1. Laying the Underlayment
Start by preparing the subfloor. Remove any debris or existing flooring, ensuring a clean and level surface. Next, lay the underlayment to create a moisture barrier and provide cushioning.
2. Measuring and Planning
Measure the dimensions of the room to determine the amount of laminate flooring needed. Consider the direction of the planks and plan the layout accordingly.
3. Cutting and Fitting the Planks
Using a saw, cut the planks to the desired length. Begin the installation in one corner of the room and work your way across. Leave a small gap between the edge of the planks and the wall to allow for expansion. Use spacers to maintain the gap.
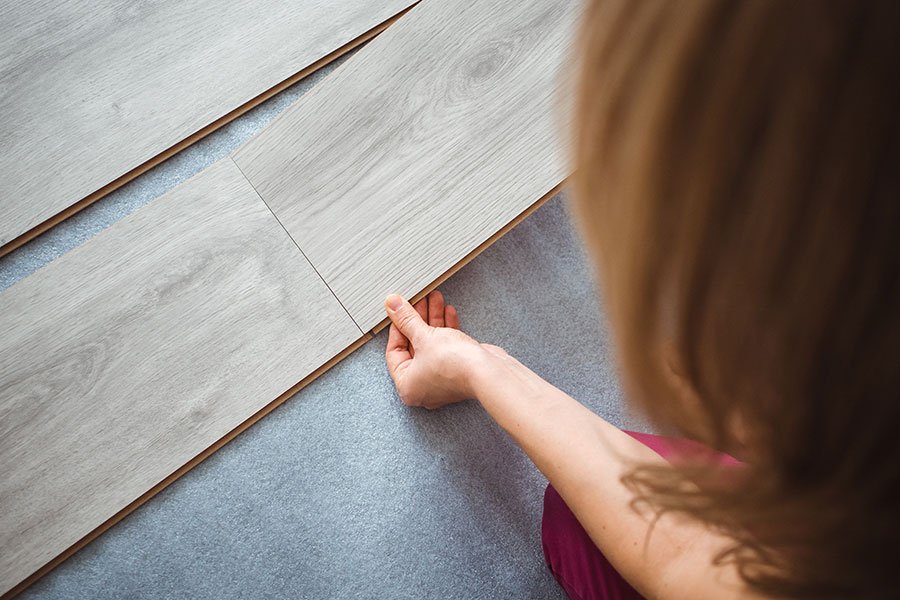
4. Clicking the Planks Together
Most laminate flooring utilizes a click-lock system for easy installation. Align the tongue of one plank with the groove of the previous plank and press down firmly to lock them together. Repeat this process until the entire floor is covered.
5. Finishing Touches
Once all the planks are installed, remove the spacers and install the baseboards or trim to cover the expansion gap. Use a transition strip to seamlessly join the laminate flooring with other types of flooring in adjoining rooms.
6. Cleaning and Maintenance
After installation, clean the laminate flooring with a damp mop or microfiber cloth. Avoid using harsh chemicals or excessive water. Regularly sweep or vacuum to remove dust and dirt to maintain the beauty of your laminate floors.
With our step-by-step guide, you can confidently install laminate floors yourself and achieve professional-looking results. Enjoy the satisfaction of a successful DIY project and the beauty of your new laminate flooring.
Troubleshooting Common Laminate Floor Installation Issues
Even with careful planning and preparation, it's not uncommon to encounter some challenges during the laminate floor installation process. In this section, we'll address common issues that may arise and provide practical solutions, ensuring that your DIY project goes smoothly from start to finish.
Gaps between Planks
One common problem that DIYers face is the appearance of gaps between laminate floor planks. These gaps can be unsightly and can also compromise the stability of the flooring. To address this issue, consider the following solutions:
- Check for uneven subfloor: Ensure that the subfloor is level and free from any imperfections. If necessary, use a leveling compound to even out the surface before installing the laminate flooring.
- Use spacers: Place small spacers between the planks during installation to maintain the proper expansion gap. This gap allows the flooring to adjust to changes in temperature and humidity.
- Replace damaged planks: If the gaps persist, it may be necessary to replace damaged or poorly fitting planks with new ones. Take care to ensure a snug fit.
Creaking Noises
Another common issue that can arise during laminate floor installation is creaking noises when walking on the flooring. These noises can be bothersome and may indicate problems with the installation. Here are some steps to address this problem:
- Tighten loose planks: Check if any planks are loose or not securely snapped together. Gently tap them into place using a rubber mallet or a block of wood to eliminate any gaps.
- Use a lubricant: If creaking persists, apply a small amount of a dry silicone lubricant to the joints between the planks. This can help reduce friction and eliminate the noise.
- Address uneven subfloor: In some cases, creaking may be caused by an uneven subfloor. Ensure that the subfloor is properly leveled and secure any loose areas before installing the laminate flooring.
Stains and Scratches
Stains and scratches can detract from the beauty of your laminate flooring. While laminate flooring is generally durable, it is not entirely resistant to damage. Here are some tips to prevent and address stains and scratches:
- Use furniture pads: Place felt furniture pads on the feet of your furniture to prevent scratches when moving items around.
- Clean spills immediately: Laminate flooring can be susceptible to water damage, so it's important to clean up spills promptly to avoid staining. Use a damp cloth to wipe away any spills and dry the area thoroughly.
- Use protective mats: Place floor mats at entryways and high-traffic areas to collect dirt and prevent scratches from abrasive particles.
- Consider laminate floor repair kits: If your laminate flooring does get scratched, there are repair kits available that can help disguise the damage.
By addressing these common laminate floor installation issues, you can ensure a successful and visually pleasing result. Remember, patience and attention to detail are key when troubleshooting these challenges. With our expert tips, you'll be well-equipped to handle any problems that may arise during your DIY laminate flooring installation project.
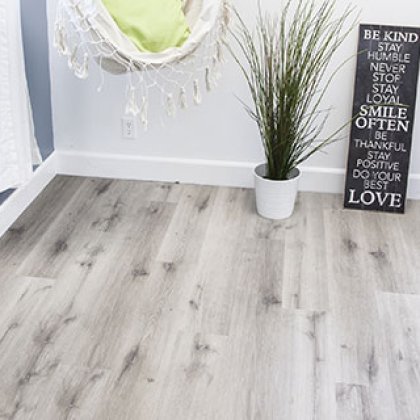
Maintaining and Caring for Your Laminate Flooring
Once your laminate flooring is installed, it's important to know how to maintain and care for it to ensure its longevity. Laminate floors are known for their durability, but proper maintenance can help them look their best for years to come.
Cleaning Your Laminate Floors
Cleaning your laminate floors regularly is essential to keep them looking clean and polished. Here are some tips to help you maintain a sparkling floor:
- Start by sweeping or vacuuming the floor to remove loose dirt and dust.
- Use a damp microfiber mop or cloth to clean the surface. Avoid using excessive water, as it can seep into the seams and damage the floor.
- For tougher stains or spills, use a mild cleaning solution specifically designed for laminate floors. Avoid using abrasive cleaners or harsh chemicals, as they can cause damage.
- Wipe up spills immediately to prevent them from seeping into the floor and causing damage.
Protecting Your Laminate Floors
Protecting your laminate floors from scratches and damage is crucial to maintaining their beauty. Here are some tips to keep your floors protected:
- Place doormats at the entrance of your home to prevent dirt and debris from being tracked onto the floor.
- Use furniture pads or felt protectors under the legs of your furniture to prevent scratches when moving them.
- Avoid dragging heavy furniture or objects across the floor. Instead, use sliders or furniture glides to move them.
- Place rugs or mats in high-traffic areas to further protect the floor from wear and tear.
Maintaining Your Laminate Floors
In addition to regular cleaning and protection, a few extra steps can help maintain the overall condition of your laminate floors:
- Avoid excessive exposure to direct sunlight, as it can cause fading or discoloration over time. Use curtains or blinds to protect the floor from direct sunlight.
- Trim your pet's nails regularly to prevent scratches on the floor.
- Periodically check for any signs of damage or wear and address them promptly. Replace any damaged planks or boards to maintain the integrity of your floor.
- Consider using a laminate floor cleaner or polish specifically designed for laminate floors to add a protective layer and enhance the shine.
Summary
By following these tips and tricks for cleaning, protecting, and maintaining your laminate floors, you can ensure that your investment lasts for years to come. A well-maintained laminate floor not only adds beauty to your home but also provides a durable and resilient surface that can withstand daily wear and tear.
| Cleaning Tips | Protection Tips | Maintenance Tips |
|---|---|---|
| Regularly sweep or vacuum to remove dirt and dust. | Use furniture pads or felt protectors under furniture legs. | Avoid excessive exposure to direct sunlight. |
| Use a damp microfiber mop to clean the surface. | Avoid dragging heavy furniture or objects across the floor. | Trim pet's nails to prevent scratches. |
| Use a mild cleaning solution designed for laminate floors. | Place rugs or mats in high-traffic areas. | Periodically check for signs of damage or wear. |
| Wipe up spills immediately. | Avoid excessive water when cleaning. | Consider using a laminate floor cleaner or polish. |
Conclusion
In conclusion, our expert DIY Laminate Flooring Installation Tips provide you with the knowledge and guidance to transform your home effortlessly. Whether you're a beginner or an experienced DIYer, these tips will take you through the entire process, from selecting the perfect flooring to maintaining it for years to come.
By following our step-by-step guide, you'll be able to install laminate flooring with ease and create a stunning space that reflects your style and personality. With the right tools and materials, proper preparation, and attention to detail, you'll achieve professional-looking results without the need for expensive contractors.
Don't wait any longer to start your laminate flooring installation journey. With our comprehensive tips, you'll have the confidence and expertise to elevate your home and enjoy the beauty and durability of laminate floors. Get ready to enjoy a space that can withstand the demands of everyday life while enhancing the overall aesthetic appeal of your home.
FAQ
How long does it take to install laminate flooring?
The time it takes to install laminate flooring depends on the size of the area and your experience level. On average, it can take a DIYer anywhere from one to three days to complete the installation.
Can I install laminate flooring over my existing floor?
In most cases, you can install laminate flooring over an existing floor as long as it is clean, dry, and level. However, it's important to check the manufacturer's guidelines for specific instructions.
Do I need any special tools to install laminate flooring?
While you will need a few basic tools such as a tape measure, circular saw, and rubber mallet, most of the tools required for laminate flooring installation can be found at your local hardware store or rented from a tool rental shop.
Can laminate flooring be installed in any room of the house?
Laminate flooring can be installed in most rooms of the house, including living rooms, bedrooms, kitchens, and even basements. However, it's important to consider factors such as moisture levels and subfloor suitability before installing laminate in certain areas.
How do I clean and maintain laminate flooring?
To clean laminate flooring, simply sweep or vacuum regularly to remove dirt and debris. For spills or stains, use a damp cloth or mop with a mild cleaner specifically designed for laminate floors. Avoid excessive water as it can damage the flooring.