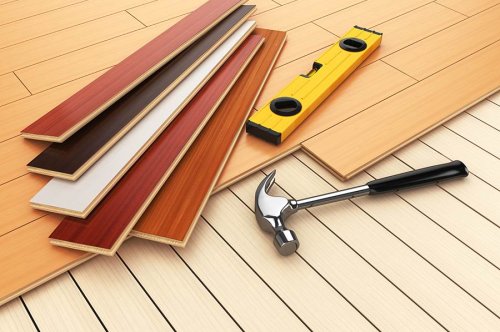


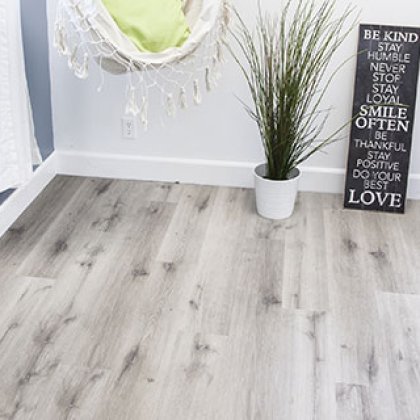
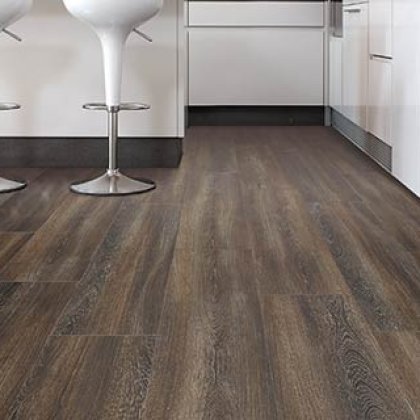
How to Get Your Floors Ready for Stunning Laminate
Preparing your floor for laminate installation is a crucial step in achieving a flawless and long-lasting result. This comprehensive guide will walk you through the necessary preparations to ensure your laminate flooring looks stunning and performs beautifully for years to come.
Key Takeaways:
- Properly preparing your floor is essential for a successful laminate installation.
- Assess the condition of your subfloor before starting the installation process.
- Remove any existing flooring to create a level surface for the laminate installation.
- Thoroughly clean the floor and remove any obstructions that may hinder the installation process.
- Allow the laminate flooring to acclimate to its environment before installation.
Assessing the Subfloor Condition
Before starting the installation process, it's crucial to assess the condition of your subfloor. Properly addressing any issues such as unevenness, moisture, or damage is essential for ensuring the optimal performance and longevity of your new laminate flooring.
Here are the necessary steps to assess and prep your subfloor for laminate floor installation:
- Inspect for unevenness: Use a level to check the subfloor for any high or low spots. If you notice any unevenness, you'll need to correct it before proceeding. Depending on the severity, you may need to use a leveling compound or add plywood underlayment to achieve a level surface.
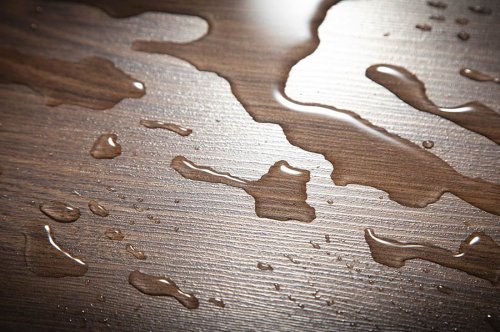
- Test for moisture: Laminate flooring is susceptible to moisture damage, so it's crucial to test the subfloor's moisture levels. You can use a moisture meter to check for excessive moisture. If moisture levels are high, you'll need to address the source of moisture before installing the laminate flooring. This might involve sealing the subfloor or installing a vapor barrier.
- Inspect for damage: Carefully examine the subfloor for any signs of damage such as cracks, rot, or decay. If you notice any damage, it's important to repair or replace the affected areas. This will help ensure a stable and durable foundation for your laminate flooring.
- Address squeaks: If your subfloor is squeaky, it's recommended to fix the issue before installing laminate flooring. This can be done by driving screws into the subfloor along the squeaky areas or by using specialized subfloor adhesive.
By taking the time to properly assess and address the condition of your subfloor, you'll set the stage for a successful laminate floor installation. Remember, a solid foundation is key to achieving a beautiful, durable, and long-lasting flooring solution.
| Benefits of Subfloor Assessment and Prep: |
|---|
| 1. Ensures a level surface for laminate installation |
| 2. Prevents moisture-related issues |
| 3. Fixes any subfloor damage for a stable foundation |
| 4. Eliminates squeaks and improves overall floor performance |
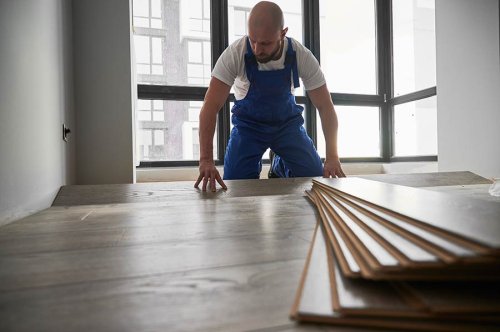
Removing Existing Flooring
If you're planning to install laminate flooring, it's crucial to properly remove any existing flooring to ensure a level surface. The process may vary depending on the type of flooring you have, such as carpet, hardwood, or tile. Here's a step-by-step guide on how to prep your floor for laminate installation by removing different types of flooring:
Removing Carpet
- Start by removing the baseboards around the perimeter of the room using a pry bar or a putty knife.
- Carefully cut the carpet into manageable sections using a utility knife.
- Roll up each section of carpet and remove it from the room.
- Remove the carpet padding if it's attached to the subfloor.
- Inspect the subfloor for any leftover staples or tack strips and remove them.
Removing Hardwood or Laminate Flooring
- Use a circular saw or a pry bar to remove the baseboards around the room.
- Start at a corner of the room and pry up the first row of hardwood or laminate planks using a pry bar.
- Continue removing the remaining planks, working row by row.
- Inspect the subfloor for any nails or staples and remove them.
Removing Tile or Vinyl Flooring
- Start by removing the baseboards using a pry bar or putty knife.
- Using a hammer and chisel, carefully break one tile or vinyl plank to create a starting point.
- Continue breaking and prying up the tiles or planks until the entire floor is cleared.
- Remove any adhesive or residue using a floor scraper or a solvent if necessary.
- Inspect the subfloor for any nails, staples, or unevenness and address them accordingly.
Remember to wear protective gloves and eyewear during the removal process to ensure your safety. Once you've successfully removed the existing flooring, you'll be one step closer to creating a beautiful and durable laminate floor.
Cleaning and Clearing the Area
Before you begin the installation process, it's important to create a clean and clutter-free space. This will not only make the installation easier but also ensure a smooth and flawless finish for your laminate flooring. Here are the steps to prepare your floor for laminate:
- Remove all furniture and objects: Start by clearing the room of any furniture, rugs, or other items. This will give you a clear and open space to work with and prevent any obstacles during the installation.
- Vacuum or sweep the floor: Use a vacuum cleaner or broom to remove any loose dirt, dust, or debris from the floor. Pay close attention to corners and edges to ensure a thorough clean.
- Wipe the floor: After sweeping, use a damp cloth or mop to wipe the floor and remove any remaining dirt or residue. Make sure the cloth or mop is only damp and not soaking wet, as excessive moisture can cause damage to the laminate flooring.
- Inspect for any stains or spills: Check the floor for any stains or spills, especially in high-traffic areas or near entrances. If you spot any, clean them with an appropriate cleaner or stain remover, following the manufacturer's instructions.
- Ensure the floor is dry: Before proceeding with the installation, allow the floor to completely dry. This may take some time depending on the humidity level in your area. Moisture trapped beneath the laminate can cause it to warp or buckle, so it's crucial to ensure a dry surface.
By following these steps and thoroughly cleaning the floor, you'll create the perfect foundation for your new laminate flooring. A clean surface will not only enhance the visual appeal of your space but also contribute to the longevity and durability of your laminate.
"Properly cleaning and clearing the area is a vital step in preparing your floor for laminate installation. By removing furniture, vacuuming, wiping, addressing stains, and ensuring the floor is dry, you'll create an optimal surface for a flawless installation."
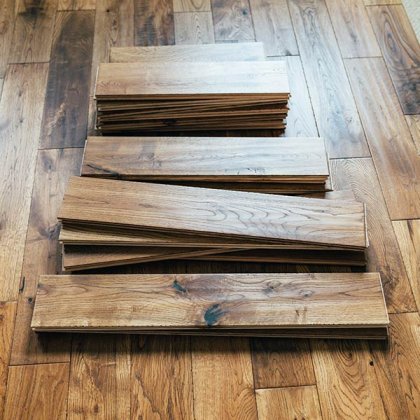
Acclimating the Laminate Flooring
Before installing your laminate flooring, it's important to allow it to acclimate to its surroundings. Acclimation refers to the process of allowing the laminate planks to adjust to the temperature and humidity of the installation space. This step is crucial to ensure the best results and prevent potential issues.
Why is acclimation necessary?
Laminate flooring is made of multiple layers, including a core layer that can expand or contract with changes in temperature and moisture. Acclimating the flooring helps minimize these changes and allows the planks to reach a stable state before installation. Skipping this step can lead to problems such as buckling, gaps, or other issues down the line.
How long should the acclimation period be?
The duration of the acclimation period depends on various factors, including the manufacturer's recommendations and the specific conditions of your installation space. In general, the laminate flooring should be acclimated for at least 48 hours.
It's important to note that acclimation times may vary depending on the climate and humidity levels in your area. Always follow the manufacturer's guidelines for the specific laminate flooring you are installing.
How to acclimate the laminate flooring?
To acclimate the laminate flooring, follow these steps:
- Remove the packaging from the planks but leave them stacked in the installation area.
- Leave a small gap (about 1/2 inch) between the walls and the stacked planks to allow for proper air circulation.
- Maintain the room temperature and humidity levels at the normal living conditions to simulate the environment the flooring will be exposed to.
- Ensure the subfloor is clean, dry, and ready for installation.
By allowing the laminate flooring to acclimate, you are giving it the opportunity to adjust to the conditions in your home, which can ultimately contribute to a successful installation and a beautiful, long-lasting floor.
Installing a Vapor Barrier
When it comes to laminate floor substrate preparation, installing a vapor barrier is a crucial step. Not only does it protect the laminate flooring from moisture damage, but it also acts as a sound barrier, ensuring a quieter and more comfortable living space.
There are different types of vapor barriers available, each with its own benefits. Here are the most common options:
- Polyethylene Film: This is a versatile and widely used vapor barrier. It is easy to install and provides effective protection against moisture.
- Foam Underlayment with Vapor Barrier: Some underlayment products come with a built-in vapor barrier, making installation convenient and efficient.
- Concrete Sealers and Primers: If you have a concrete subfloor, using a sealer or primer can help create a moisture-resistant surface for the laminate flooring.
When installing a vapor barrier, follow these steps:
- Clean and prepare the subfloor: Make sure the subfloor is clean, dry, and free from any debris that could affect the installation of the vapor barrier.
- Measure and cut the vapor barrier: Carefully measure the dimensions of the room and use a utility knife or scissors to cut the vapor barrier to size, allowing for a few inches of overlap along the edges.
- Lay down the vapor barrier: Starting in one corner of the room, unroll the vapor barrier across the subfloor, ensuring it is flat and smooth. If using multiple sheets, overlap them by a few inches and seal the seams with tape.
- Secure the vapor barrier: Use staples or adhesive to secure the vapor barrier to the subfloor, ensuring it is firmly in place and won't move during the laminate floor installation.
To visually illustrate the different types of vapor barriers and their installation steps, refer to the table below:
| Vapor Barrier Type | Benefits | Installation Steps |
|---|---|---|
| Polyethylene Film | Easy to install Effective moisture protection |
1. Clean and prepare the subfloor 2. Measure and cut the film 3. Lay down the film 4. Secure with staples or adhesive |
| Foam Underlayment with Vapor Barrier | Convenient and efficient Built-in vapor barrier |
1. Clean and prepare the subfloor 2. Measure and cut the underlayment 3. Lay down the underlayment 4. Secure with adhesive |
| Concrete Sealers and Primers | Moisture-resistant surface Ideal for concrete subfloors |
1. Clean and prepare the subfloor 2. Apply sealer or primer according to manufacturer instructions |
By following these steps and selecting the appropriate vapor barrier for your installation, you can ensure that your laminate flooring remains protected and performs at its best over time.
Repairing and Patching the Subfloor
Before installing laminate flooring, it's crucial to address any subfloor issues such as cracks, holes, or unevenness. A stable and smooth subfloor is essential for a successful installation that will ensure the longevity of your laminate flooring. Here, we will provide guidance on how to properly repair and patch the subfloor to create an ideal foundation.
Assessing the Subfloor
The first step in repairing and patching the subfloor is to thoroughly assess its condition. Look for any cracks, holes, or areas of unevenness that may need to be addressed. Additionally, check for signs of moisture, as a damp subfloor can lead to problems such as warping or molding of the laminate flooring.
Repairing Cracks and Holes
If you find any cracks or holes in the subfloor, it's important to repair them before proceeding with the laminate installation. Fill the cracks or holes with a suitable subfloor repair compound, ensuring that it is level with the surrounding surface. Follow the manufacturer's instructions for application and drying time.
Patching Uneven Areas
Uneven areas on the subfloor can cause the laminate flooring to buckle or warp over time. To address this, you may need to use a self-leveling compound to create a smooth and level surface. Apply the compound according to the manufacturer's instructions, focusing on the areas that require leveling.
Additional Tips
Here are a few additional tips to consider when repairing and patching the subfloor:
- Make sure the subfloor is clean and free of any debris before applying any repair compounds.
- Allow sufficient drying time for the repair compounds before proceeding with the laminate installation.
- If the subfloor is prone to moisture issues, consider using a moisture barrier in addition to the repair and patching process.
| Step | Action |
|---|---|
| 1 | Thoroughly assess the subfloor for cracks, holes, and uneven areas. |
| 2 | Repair any cracks or holes using a suitable subfloor repair compound. |
| 3 | Patch uneven areas with a self-leveling compound to create a smooth surface. |
| 4 | Ensure the subfloor is clean and debris-free before proceeding with the laminate installation. |
| 5 | Allow sufficient drying time for the repair compounds before installing the laminate flooring. |
| 6 | Consider using a moisture barrier if the subfloor is prone to moisture issues. |
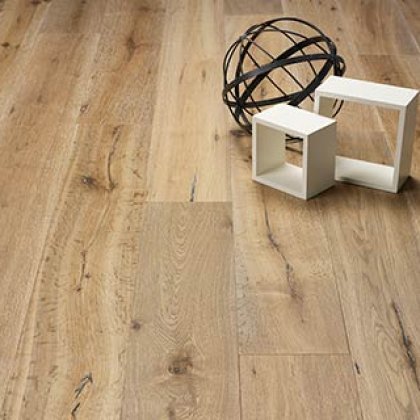
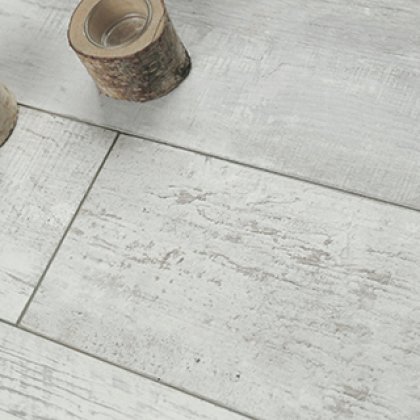
Installing Underlayment
When it comes to laminate floor installation prep, one crucial step is installing underlayment. Underlayment serves multiple purposes and plays a significant role in ensuring the long-term durability and performance of your laminate flooring. Let's explore the importance of underlayment and guide you through the process of installing it.
The Importance of Underlayment
Underlayment helps cushion the laminate flooring and reduces noise transmission. It acts as a barrier between the subfloor and the laminate planks, providing an additional layer of support and stability. Underlayment also helps to enhance the comfort underfoot by absorbing minor imperfections on the subfloor, making your laminate floor feel more comfortable to walk on.
In addition to comfort, underlayment also contributes to noise reduction. It helps to minimize the sound of footsteps and eliminates the hollow sound that can sometimes occur with laminate flooring. This is especially important in multi-story homes or areas where noise control is a priority.
The Process of Installing Underlayment
The process of installing underlayment is relatively straightforward. Here are the steps you'll need to follow:
- Start by thoroughly cleaning the subfloor to ensure it's free from dust and debris. This will help the underlayment adhere properly.
- Roll out the underlayment across the entire floor, starting in one corner of the room. Make sure to leave a small gap (approximately 1/4 inch) between the underlayment and the walls to allow for expansion. Trim off any excess underlayment as needed.
- When laying each row of underlayment, overlap the seams by a few inches and use a utility knife to trim them neatly. This will help create a smooth and even surface.
- Secure the underlayment in place by using adhesive or tape, following the manufacturer's instructions. Make sure to apply the adhesive or tape at the seams and around the perimeter of the room.
- Once the underlayment is securely in place, you're ready to begin installing your laminate flooring according to the manufacturer's instructions.
Pro Tip: Before installing the underlayment, check the specific requirements and recommendations provided by the manufacturer of your laminate flooring. This will ensure that you choose the right type of underlayment and follow the appropriate installation methods for your specific flooring product.
By following these steps, you'll be well on your way to creating a solid foundation for your new laminate flooring. The underlayment will not only enhance the performance and durability of your floor but also provide added comfort and noise reduction. Now that your underlayment is installed, you can move on to the next steps in the laminate floor installation process.
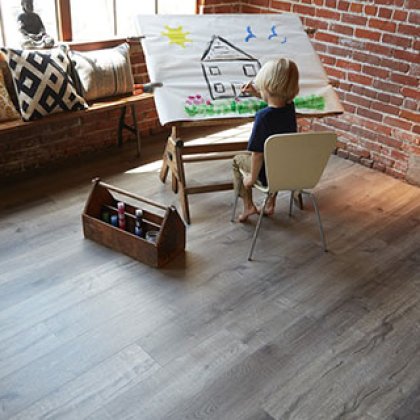
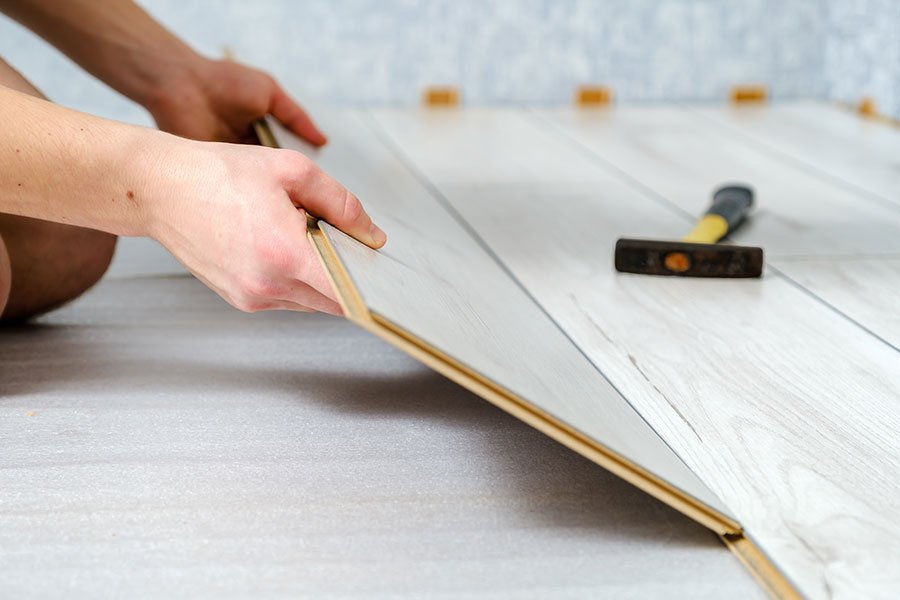
Preparing for Installation
Before you begin the actual laminate floor installation, it's crucial to properly prepare the area. By considering important factors such as layout planning, expansion gaps, and gathering the necessary tools, you can ensure a smooth and successful installation process.
Layout Planning
One of the first steps in preparing for installation is planning the layout of your laminate flooring. Take accurate measurements of the room and create a layout plan to determine the most efficient and aesthetically pleasing arrangement. Consider the direction of natural light, furniture placement, and any architectural features that may impact the layout.
Expansion Gaps
When installing laminate flooring, it's essential to leave expansion gaps around the perimeter of the room and at transitions between different areas. These gaps allow the laminate to expand and contract with temperature and humidity changes, preventing buckling or warping. Use spacers or other appropriate methods to ensure consistent gap spacing.
Gathering the Necessary Tools
Before you begin the installation, gather all the tools and materials you'll need for the job. This may include a laminate cutter, a tapping block, a pull bar, a tape measure, a utility knife, a pencil, a mallet, and safety equipment such as safety glasses and knee pads. Having everything on hand will save you time and ensure a smoother installation process.
Properly preparing your floor for laminate installation is crucial to achieve a stunning and long-lasting result. By carefully considering layout planning, leaving expansion gaps, and gathering the necessary tools, you'll be well-prepared to install your laminate flooring with confidence.
Conclusion
In conclusion, following the step-by-step guide outlined in this article will ensure that you are well-prepared to install laminate flooring. By taking the time to properly prepare your floor, you can achieve a stunning end result that will provide you with beautiful and durable flooring for years to come.
Remember, assessing the condition of the subfloor, removing existing flooring, cleaning the area, and acclimating the laminate flooring are essential steps in the preparation process. Additionally, installing a vapor barrier, repairing and patching the subfloor, and installing underlayment contribute to a stable foundation.
Before you begin the installation, make sure to properly plan the layout, account for expansion gaps, and gather all the necessary tools. By following these guidelines and considering these important factors, you can ensure a successful laminate flooring installation that will enhance the beauty and functionality of your space.
FAQ
Why is floor preparation important before installing laminate flooring?
Proper floor preparation is crucial before installing laminate flooring because it ensures a level surface, prevents moisture damage, and promotes the longevity of the laminate. Without proper preparation, the laminate may not lay flat, leading to an uneven and unstable floor.
What should I assess when checking the condition of my subfloor?
When assessing the condition of your subfloor, you should check for unevenness, moisture issues, and any damage such as cracks or rot. Addressing these issues before installing laminate flooring will help prevent future problems and ensure a smooth installation.
How do I remove existing flooring before installing laminate?
The process of removing existing flooring depends on the type. For carpet, you should remove the carpet, padding, and tack strips. Hardwood and tile flooring may require more effort, including removing adhesive, nails, or grout. It's important to carefully remove the existing flooring to avoid damaging the subfloor.
How should I clean the area before installing laminate flooring?
Before installation, thoroughly clean the floor by sweeping or vacuuming to remove dirt and debris. Use a mild cleaner to remove any stains or sticky substances. It's important to ensure the floor is clean and free from any obstructions that could impact the installation process.
What is the purpose of acclimating laminate flooring?
Acclimating laminate flooring allows the planks to adjust to the temperature and humidity of the installation environment. This helps prevent issues such as warping or gaps. It is recommended to acclimate laminate flooring for a minimum of 48 hours before installation.
Do I need to install a vapor barrier under laminate flooring?
Installing a vapor barrier is highly recommended to protect the laminate flooring from moisture and act as a sound barrier. There are various types of vapor barriers available, including rolls or sheets, and they should be installed according to the manufacturer's instructions.
How do I repair a subfloor before installing laminate?
Before installation, repair any subfloor issues such as cracks, holes, or unevenness. Fill cracks or holes with a suitable patching compound. If the subfloor is uneven, sand it down or use self-leveling compound to create a smooth surface for the laminate flooring.
Is underlayment necessary for laminate flooring?
Yes, underlayment is an essential component when installing laminate flooring. It provides cushioning, helps reduce noise transmission, and can act as a moisture barrier. Follow the manufacturer's instructions to properly install the underlayment before laying the laminate planks.
What should I consider when preparing for laminate installation?
When preparing for laminate installation, consider factors such as the layout plan, expansion gaps around the perimeter, and gathering the necessary tools and materials. Planning ahead will ensure a smooth and successful installation process.