


Why Acclimation is Crucial for Perfect Hardwood Floors
For centuries, hardwood has been a top choice for home flooring due to its durability and timeless appeal. However, before this natural material graces your floors, it undergoes an essential step: the acclimation process. This procedure ensures that the wood adjusts to the humidity and temperature of its new environment, preventing future warping or damage. By exploring the hardwood flooring acclimation process, you'll gain insights into how to maintain the beauty and longevity of your floors, safeguarding your investment in your home's aesthetics and value.
Key Takeaways
- Acclimating hardwood flooring is crucial to prevent warping and damage after installation.
- The process involves adjusting the wood to the room's humidity and temperature where it will be installed.
- Ideal conditions for acclimation include maintaining a consistent room temperature and humidity level, typically recommended by the flooring manufacturer.
- Follow specific steps for proper acclimation, such as spreading out the wood and allowing it to sit in the installation space for a recommended period.
- After acclimation, conduct post-acclimation procedures like checking moisture levels to ensure the wood is ready for installation.
- By understanding and applying these principles, homeowners can ensure their hardwood flooring installation is successful and durable.
Understanding Hardwood Acclimation
Process Defined
Hardwood acclimation is letting wood adjust to room conditions. This step is crucial before installation. It helps the wood get used to its new home.
Wood floors need time to settle. They react to temperature and humidity. Without acclimation, floors can warp or gap later.
Importance
Acclimation prevents warping and gaps. It ensures a long-lasting, beautiful floor. Skipping this step can lead to costly repairs.
Proper acclimation means fewer problems down the line. It's about protecting your investment in hardwood flooring.
How It Works
The process involves balancing temperature and humidity. Wood needs to match the room’s climate. This balance is key for stable floors.
It usually takes several days. The exact time depends on the wood and climate. Always follow the manufacturer's recommendations.
Importance of Acclimating Hardwood
Long-Term Durability
Proper acclimation ensures long-term durability. It allows the wood to adjust to its new environment. This prevents it from reacting badly later on.
Wood floors last longer when they acclimate first. They become stable and strong. This means they can handle daily use without damage.
Prevents Repairs
Acclimating hardwood prevents costly repairs. Without it, wood can warp or crack. Fixing these issues costs a lot of money.
It's better to let the wood sit before installing. This step saves you from spending extra on repairs. It keeps the wood in good shape for years.
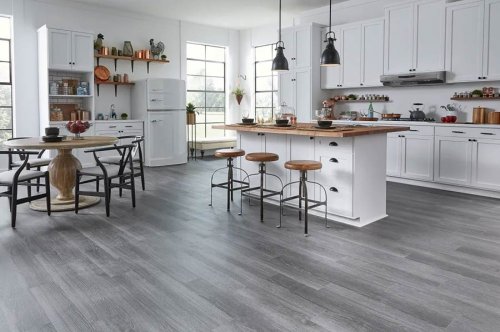
Aesthetic Appeal
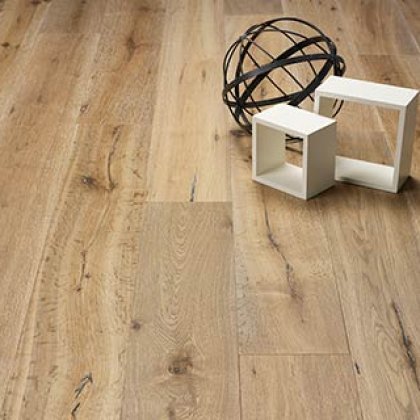
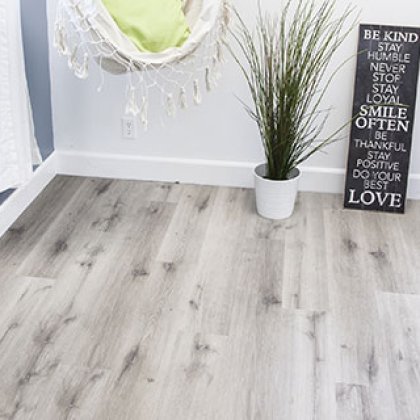
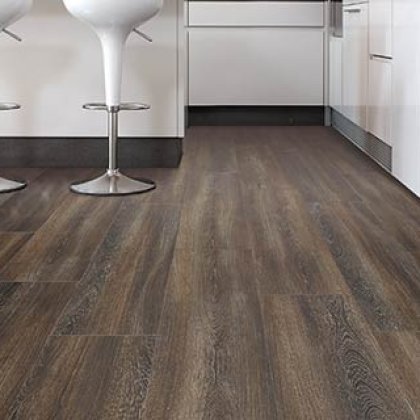
The process maintains the flooring's aesthetic appeal. Acclimated wood looks better and stays that way. Floors keep their color and finish without problems.
When hardwood adjusts properly, it fits together well. There are no gaps or uneven edges. Your floor looks beautiful and stays that way.
Ideal Conditions for Acclimation
Room Temperature
The room should be at normal living conditions. This means keeping the temperature between 60-80°F. It's crucial for the wood to adjust properly. If it's too cold or too hot, the wood won't acclimate well.
Keeping the room within this temperature range helps the wood. It adjusts without stress or damage.
Humidity Level
Maintain a relative humidity level of 30-50%. This range is key for preventing wood warping. Too much moisture can make the wood expand. Too little can cause it to shrink.
A balanced humidity level ensures the wood stays in good shape. It prepares it for installation.
Acclimation Time
Keep the wood in the room for at least 3-7 days before installing it. This time frame allows the wood to fully adjust to its new environment. Rushing this process can lead to problems later on.
Giving the wood enough time ensures a smoother installation. It reduces issues like gaps or buckling.
Steps for Proper Acclimation
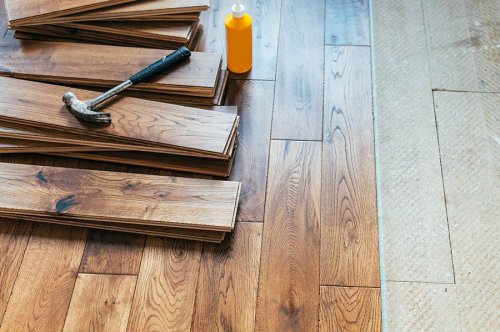
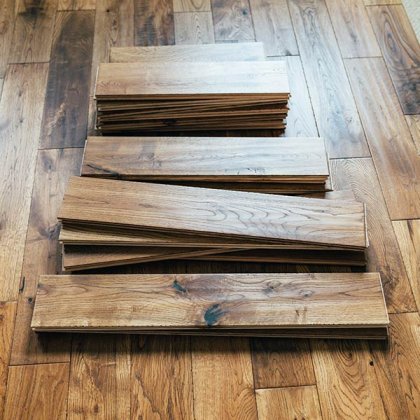
Unpack Hardwood
Unpacking the hardwood is crucial. You need to remove it from its packaging. This lets the wood breathe. Spread it out in the room where you will install it. Make sure there's space between the planks.
The room should match the ideal conditions mentioned before. This means the temperature and humidity are just right. If they aren't, wait until they are.
Use Spacers
Spacers play a key role here. Place them between each plank of wood. This allows air to flow around all sides of the wood. Good air circulation helps the wood adjust better.
Without spacers, some parts might not acclimate well. This could cause problems later on.
Monitor Levels
You must keep an eye on temperature and humidity. Use a hygrometer for this. It measures how moist or dry the air is.
Check these levels often during the acclimation process. They should stay within the ideal range. If they change, you might need more time for acclimation.
Post-Acclimation Procedures
Wood Inspection
After the acclimation, inspect the wood carefully. Look for any signs of damage or warping. This step is crucial to ensure the quality of your flooring. If you find any issues, it's important to address them before moving forward.
Damaged or warped boards can affect the overall look and feel of your floor. They can also cause problems later on.
Area Cleaning
Clean the area where you will install the hardwood flooring. This ensures a smooth installation process. Dust and debris can get in the way. They can also cause imperfections.
A clean surface helps the flooring to adhere better. It makes the installation easier too.
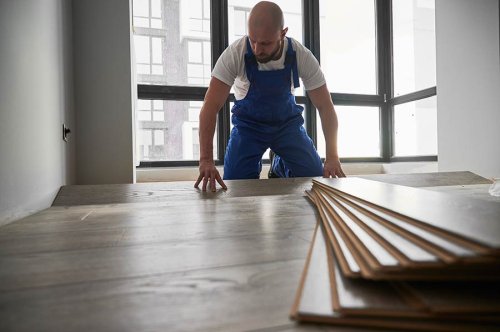
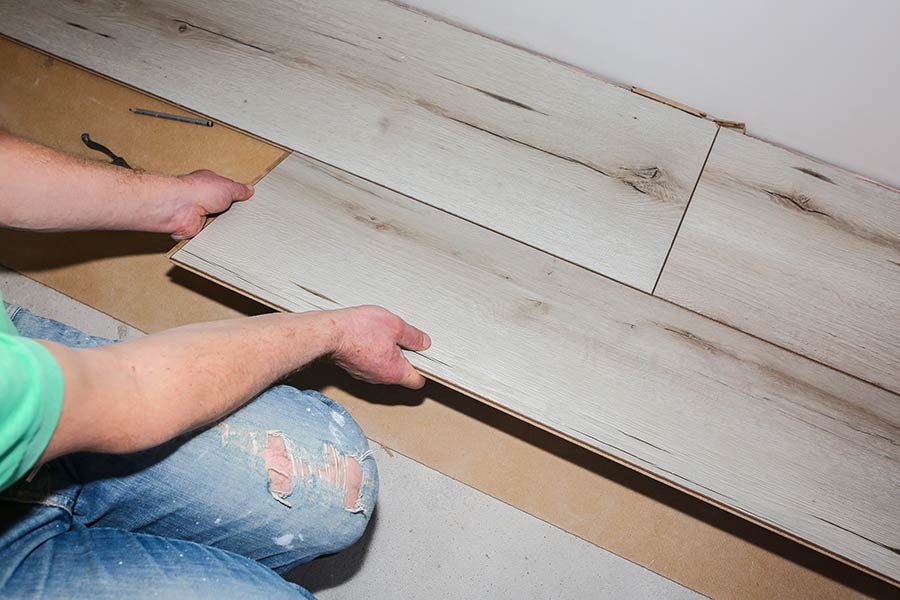
Installation Start
Only begin installing after confirming the wood has properly acclimated. This is key to a successful hardwood floor installation. Properly acclimated wood reduces the risk of expansion or contraction post-installation.
This step follows naturally after ensuring the wood and area are ready. It marks the transition from preparation to action.
Summary
Acclimating your hardwood flooring is crucial for a top-notch install. You've learned why it's important, the best conditions for it, how to do it right, and what to do after. This ensures your floors look amazing and last longer. Don't skip these steps! They save you time, money, and headaches down the road. Your home deserves the best, and that starts with proper prep.
Now you're set to tackle your flooring project with confidence. Remember, patience during acclimation pays off with stunning results. If you've got questions or need help, reach out to a pro. Ready to make your floors the envy of the neighborhood? Get started today. Your dream home awaits!
Frequently Asked Questions
What is hardwood acclimation?
Hardwood acclimation is the process of allowing wood flooring to adjust to the humidity and temperature of its installation environment, ensuring stability and preventing future warping or gapping.
Why is acclimating hardwood important?
Acclimating hardwood prevents post-installation issues like warping, gapping, and buckling by aligning the wood's moisture content with that of its surroundings, ensuring long-lasting, beautiful floors.
What are the ideal conditions for hardwood acclimation?
Ideal conditions require maintaining a consistent room temperature between 60-75°F and relative humidity levels of 30-50%, mirroring typical living conditions for optimal wood adjustment.
How do you properly acclimate hardwood flooring?
Proper acclimation involves spreading out the hardwood planks in the installation area for a period of 3 to 7 days, allowing them to adjust to the room's temperature and humidity levels before installation.
What should be done after hardwood floor acclimation?
Post-acclimation procedures include checking the wood's moisture content with a moisture meter to ensure it matches the room’s conditions closely before proceeding with the final installation process.