


10 Pro Tips for Flawless Laminate Flooring Installation
Laying down laminate flooring has become a popular DIY project, thanks to its simplicity and the instant upgrade it offers any room. Originating in Sweden in the 1970s, laminate flooring was designed as an affordable and durable alternative to hardwood floors. Today, it's loved for its versatility and ease of installation. With the right laminate flooring installation tips, even beginners can achieve professional-looking results. This guide will walk you through essential steps and tricks to ensure your new floor looks flawless and lasts for years.
Key Takeaways
- Make sure you have all tools and materials ready before starting your laminate flooring project. This includes underlayment, spacers, and a saw for cutting.
- Follow the step-by-step guide closely to ensure each piece of laminate is installed correctly. This means starting from the right corner and working your way across.
- Avoid common mistakes like not leaving enough space for expansion or skipping the underlayment. These can ruin your floor over time.
- Pay attention to the finishing touches. Use the right trim and moldings to give your floor a professional look.
- Remember, taking your time to do it right is better than rushing and making mistakes. Slow and steady wins the race in flooring installation.
- If you're unsure about any step, consult a professional or watch tutorial videos for clarity. It's better to ask for help than to fix costly errors later.
Preparing for Installation
Room Dimensions
Measuring the room before starting is crucial. It helps in buying the right amount of laminate flooring. Use a tape measure to find the length and width of the room. Then, multiply these numbers to get the square footage.
Always buy a little more flooring than you need. This extra is for mistakes or future repairs.
Clean Subfloor
The subfloor must be clean before installing laminate flooring. Dirt can cause problems later. Sweep and vacuum the area well. Make sure it's dry too.
A clean subfloor makes the laminate lay flat and stay secure.
Acclimate Planks
Laminate planks need time to adjust to a room's temperature. This process is called acclimation. Leave the planks in the room where they will be installed for at least 48 hours.
This step prevents warping after installation. It ensures a smoother fit across your floor.
Necessary Tools and Materials
Tape Measure
You need a tape measure. It helps you know how much material to buy. Measure your room carefully.
A utility knife is key. You use it to cut the laminate. Make sure the blade is sharp for clean cuts.
Spacers
Spacers keep gaps even. They go between the planks and walls. This gap stops the floor from buckling.
Tapping Block
A tapping block protects the laminate. It helps fit planks together without damage. Always use it gently.
Pull Bar
A pull bar is for tight spaces. It pulls planks together where you can't use a tapping block. It's very helpful near walls.
Underlayment
Underlayment goes under the laminate. It makes the floor softer to walk on. It also keeps noise down.
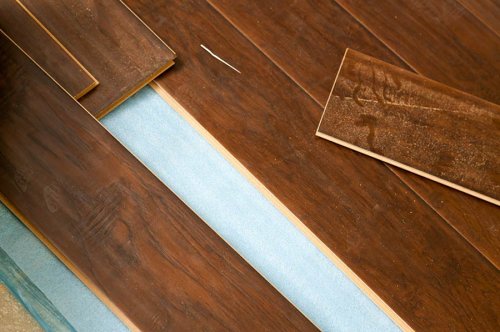
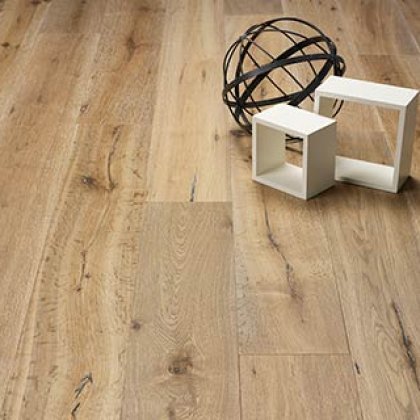
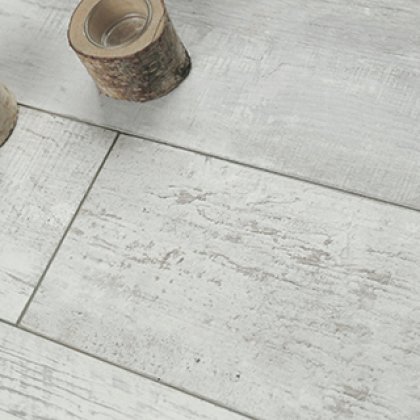
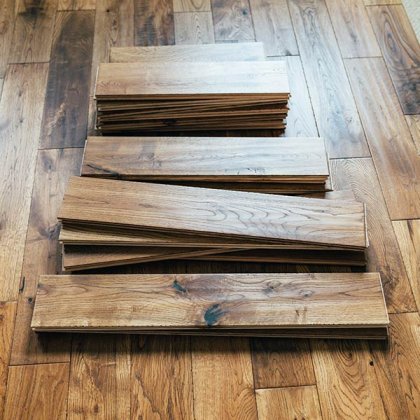
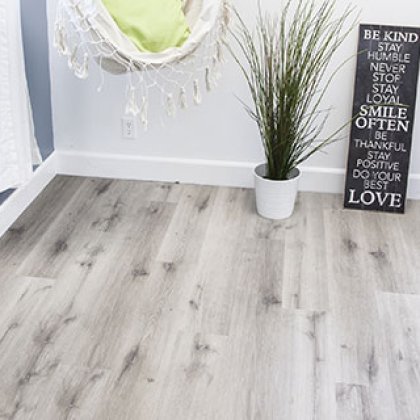
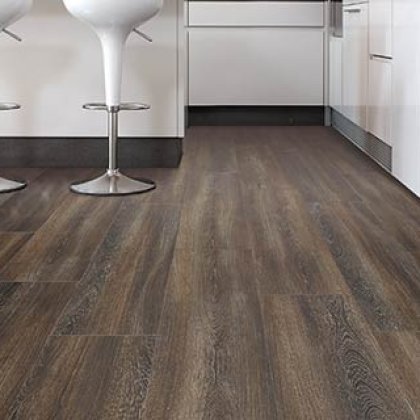
Laminate Planks
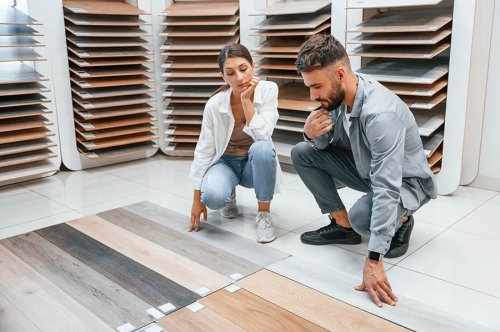
Laminate planks are what you see. Choose a style that fits your home. Make sure you have enough for the whole room.
Step-by-Step Installation Guide
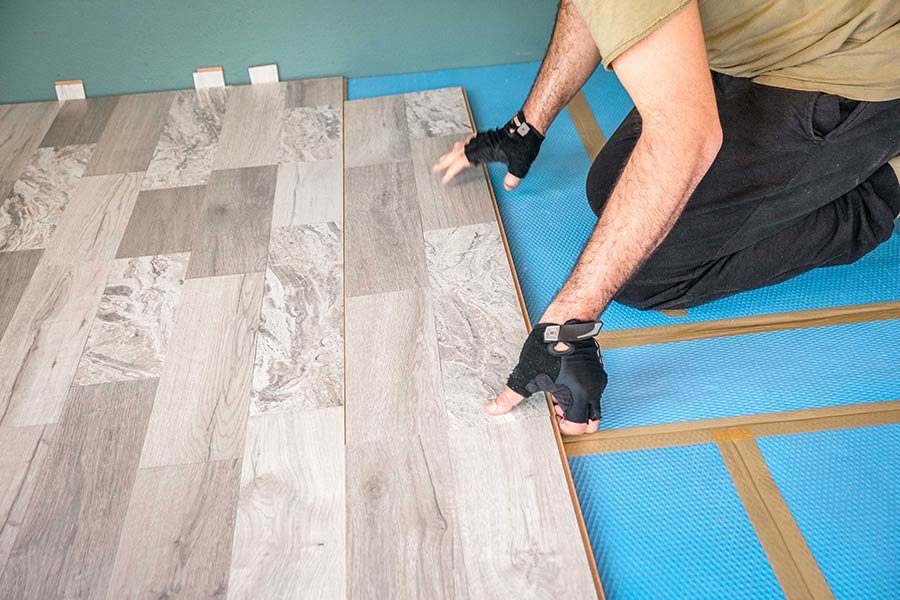
Underlayment First
After gathering your tools and materials, it's time to start. Lay down the underlayment across the entire floor. This step is crucial. It helps in noise reduction and moisture protection. Make sure there are no gaps between the pieces.
Laying the underlayment flat and smooth is key. It prepares a good base for your laminate planks.
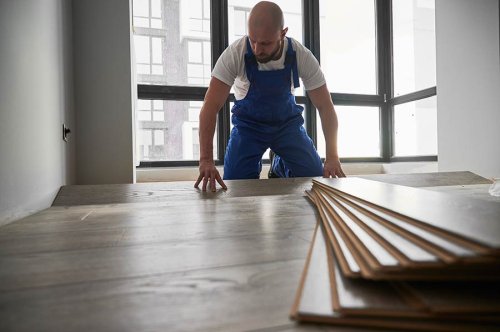
Start Left
Begin laying your planks from the left corner of the room. Place the first plank with its tongue side facing the wall. This method ensures a smooth workflow as you move across the floor.
Each plank should click into place next to the previous one. Carefully press down until you hear a snap. This means they are securely connected.
Use Spacers
Spacers are important to maintain expansion gaps around the room edges. These gaps prevent buckling as temperatures change. Place spacers every few feet along the walls.
Remember, expansion gaps should be hidden by base molding at the end of your project. They're not meant to be visible but are vital for long-term durability.
Common Mistakes to Avoid
Acclimation Process
It's crucial not to rush. Many people skip letting the laminate adjust to the room. This is a big mistake. Laminate needs time to acclimate to your home's humidity and temperature. Without this step, it might warp or gap after installation.
You should leave the flooring in the room for at least 48 hours before installing. This helps prevent future problems.
Uneven Subfloors
Ignoring bumps and dips in your subfloor can lead to trouble. Laminate flooring needs a flat surface. If you lay it on an uneven floor, it won't lock properly. It may even break or make noise when you walk on it.
Before you start laying the laminate, check the subfloor. Use a level to find any high or low spots. Then, fix them. This ensures your laminate lays flat and stays secure.
Incorrect Tools
Using the wrong tools can damage your laminate. Some people think any saw will do. But, rough cuts can fray edges and ruin the look of your floor.
Make sure you have a fine-tooth saw for clean cuts. Also, use spacers around the edges for expansion gaps. These simple tools make a big difference in how your floor looks and lasts.
Tips for a High-Quality Finish
Precision Cutting
Cutting laminate planks accurately is key. Measure twice and cut once to ensure each piece fits perfectly. Use a sharp blade to avoid chipping.
A snug fit prevents gaps. This keeps your floor looking smooth and seamless.
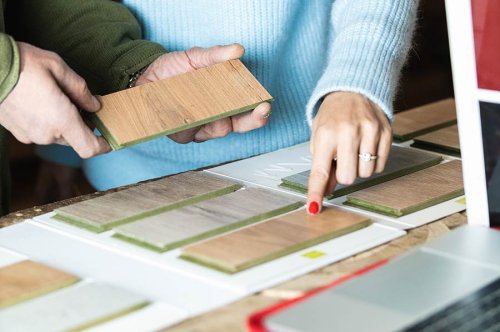
Matching Accessories
Choose moldings and trims that match your flooring. This creates a cohesive look.
They cover expansion gaps and enhance the room's appearance. It's like putting a frame on a picture.
Alignment Checks
Regularly check planks for alignment during installation. Misaligned planks can lead to uneven floors.
Use spacers to maintain even gaps along walls. They help keep everything in line.
Final Remarks
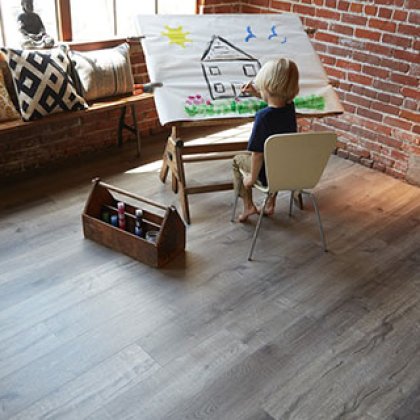
Laying down laminate flooring is a game changer for any space, giving it that sleek, modern look you're after. You've got the know-how—from prepping the area, choosing the right tools, to the step-by-step process, dodging common errors, and nailing a top-notch finish. It's all in your hands now. Remember, rushing might lead to mistakes, but with patience and attention to detail, you'll ace this project. Your home's going to look so good, your neighbors will be asking for your secret.
Now's the time to get started. Roll up your sleeves and transform your space with confidence. And hey, if you hit a snag or want to show off your stunning new floors, reach out. We're here to help and cheer you on every step of the way. Ready, set, renovate!
Frequently Asked Questions
What tools and materials do I need for laminate flooring installation?
You'll need a tape measure, utility knife, hammer, spacers, tapping block, pull bar, and underlayment. Ensure you have these essentials before starting.
How should I prepare my floor before installing laminate?
Ensure the subfloor is clean, dry, and level. Remove any debris or old flooring and check for moisture. Proper preparation ensures a smooth installation.
Can you walk me through the basic steps of installing laminate flooring?
Start by laying the underlayment, then place the first row of laminate planks with the tongue side facing the wall. Use spacers to maintain a gap for expansion and proceed to click each plank into place, cutting as necessary to fit.
What are common mistakes to avoid when installing laminate flooring?
Avoid not leaving enough space for expansion, installing on an uneven surface, and rushing through the process. Take your time to ensure accuracy and prevent issues.
Any tips for achieving a high-quality finish with laminate flooring?
For a professional look, ensure planks are properly aligned, use transition strips where needed, and trim edges neatly around obstacles. Attention to detail makes all the difference.
Is it necessary to acclimate laminate flooring before installation?
Yes, acclimate your laminate flooring in the room where it will be installed for at least 48 hours prior to installation to prevent warping or gapping.
How do I handle doorways when installing laminate flooring?
Measure and cut planks to fit around door frames. Consider using a door jamb saw to cut the frame so that planks can slide underneath for a seamless appearance.