


Watch Now: Laminate Flooring Installation Made Easy
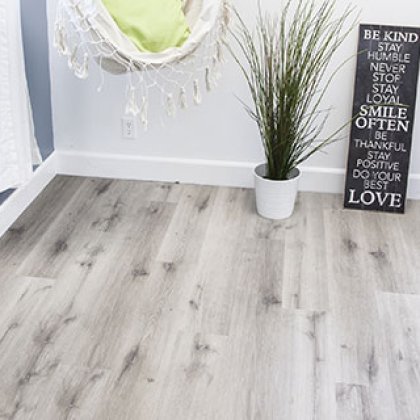
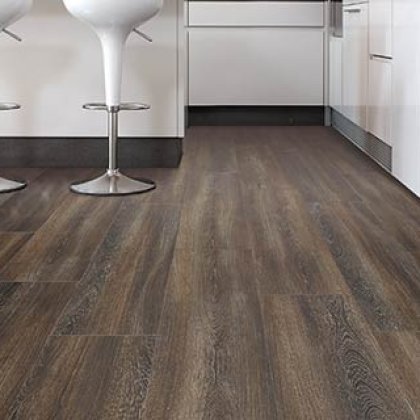
Ever wondered how to transform your space without breaking the bank? A laminate flooring installation video tutorial is your go-to guide. This DIY project can revitalize any room, offering a fresh, modern look with a process that's simpler than you might think. With step-by-step instructions, you'll navigate the essentials of selecting, preparing, and laying down your new floor with confidence. Dive into the world of laminate flooring, where durability meets style, all from the comfort of your home. Let's get those floors looking fabulous!
Key Takeaways
- Before starting your laminate flooring project, make sure to prepare the area properly. This means cleaning and leveling the floor.
- Gather all necessary tools and materials ahead of time, such as a saw, spacers, and underlayment, to avoid delays.
- Follow the step-by-step installation process closely to ensure a smooth and correct fit for your laminate flooring.
- Be aware of common installation mistakes, like not leaving enough space for expansion or skipping the underlayment, to avoid future problems.
- Always prioritize safety by wearing protective gear and following guidelines to prevent accidents during the installation.
- Watching a detailed video tutorial can provide visual guidance and practical tips, making the installation process easier to understand and execute.
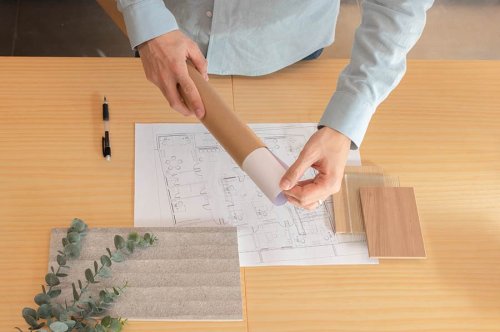
Preparing for Laminate Flooring Installation
Room Measurement
Before starting, measure the room carefully. This step is crucial. It helps you know how much material you need.
Measure the length and width of your room. Then, multiply these numbers to get the square footage. Always buy a bit more than you need. This covers mistakes or damaged pieces.
Subfloor Prep
Next, focus on preparing the subfloor. It must be clean and level before you start.
First, sweep and vacuum the entire area. Remove any debris or nails sticking out. If there are high spots, sand them down. For low spots, use a leveling compound.
Acclimation
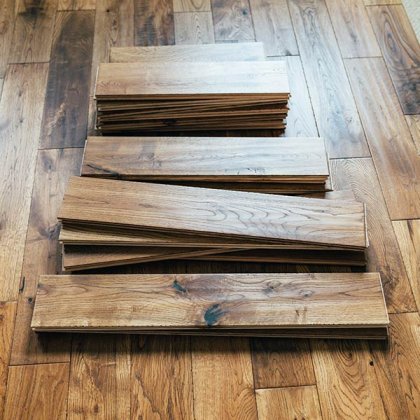
Lastly, acclimate your laminate planks. This means letting them sit in the room they will be installed in for at least 48 hours.
This step is important because it lets the planks adjust to the room's temperature and humidity. It reduces problems like warping later on.
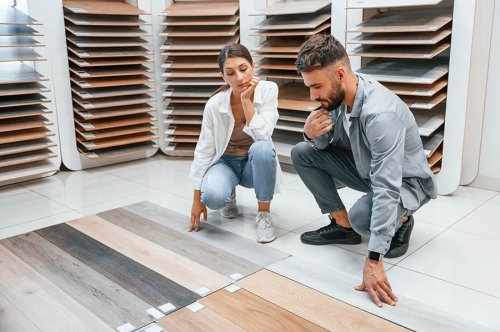
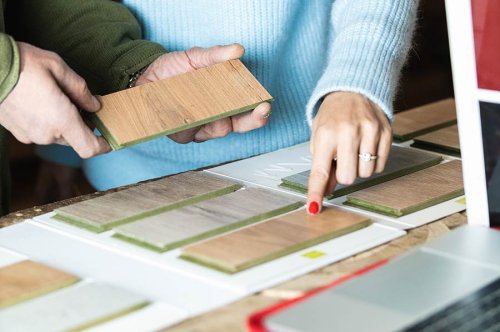
Essential Tools and Materials
Tape Measure
A tape measure is crucial. It helps you know how much material you need. Measure your room carefully before starting.
Saw Types
You'll need a saw to cut the planks. A hand saw works, but a power saw makes cuts faster and more precise. Choose what fits your skills and budget.
Spacers Use
Spacers keep the flooring even. They ensure there's a gap between planks and walls. This gap is important for when the floor expands or contracts.
Underlayment Preparation
Underlayment is a must. It goes under laminate planks. It helps with noise reduction and adds comfort underfoot. Make sure it's laid out flat and covers the entire floor.
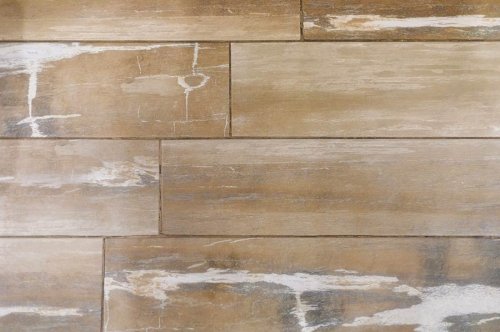
Laminate Planks
Have your laminate planks ready. Check them for damage before installation. This ensures a beautiful finish without surprises later.
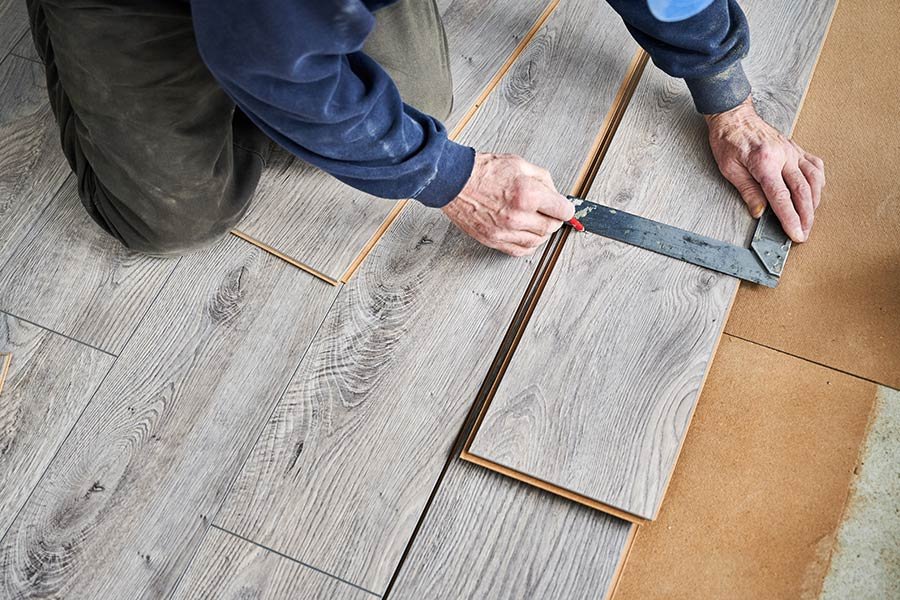
Tapping Block and Pull Bar
A tapping block protects the planks during installation. A pull bar helps fit them tightly together, especially near walls. Both tools are essential for a smooth, gap-free finish.
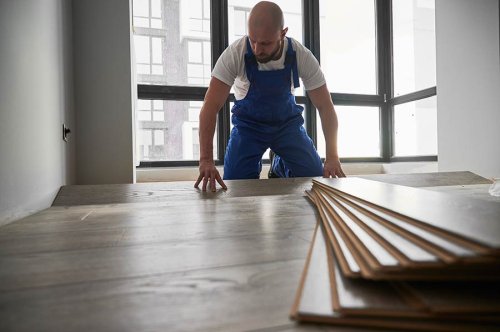
Step-by-Step Installation Process
Underlayment Setup
Laying down the underlayment is your first step. It makes floors quieter to walk on. Make sure it covers the whole floor.
Cut it to fit with scissors. Keep it smooth and flat. This part is crucial for a good base.
Plank Placement
Start at the left corner of the room. This makes it easier to work across. Each plank should fit snugly against the wall.
Use spacers to keep a gap. This lets the floor expand without problems.
Seaming Planks
Clicking planks together creates tight seams. Start at one end and push firmly until you hear a click.
Make sure there are no gaps between planks. If you see a gap, take the plank out and try again.
Always check your work as you go. This saves time fixing mistakes later.
Common Installation Mistakes to Avoid
Acclimation Process
Skipping the acclimation process is a big no. This step is crucial for laminate flooring. It needs time to adjust to your home's environment. Without it, planks might warp or gap later.
Let your flooring sit in the room where you'll install it. It should stay there for at least 48 hours. This waiting time helps prevent future problems.
Uneven Subfloors
Ignoring uneven subfloors can lead to trouble. Your floor might look bumpy or feel unstable. Use a level to check your subfloor before starting. If it's uneven, fix it first.
This ensures your laminate lays flat and stays secure. Taking care of this early saves time and stress later.
Spacing Issues
Proper spacing between planks and walls is essential. Don't forget this step. Laminate expands and contracts with temperature changes. Leaving space around the edges allows for this movement.
A lack of space can cause buckling or gaps in your floor. Use spacers during installation to maintain even gaps. This simple tool makes a big difference in the final look and durability of your flooring.
Safety Tips for Installation
Eye Protection
Wearing safety goggles is a must. They protect your eyes from dust and flying debris. This keeps your vision safe while cutting or handling materials.
Goggles prevent serious injuries. Always put them on before starting work.
Hand Safety
Gloves are essential for hand protection. They guard against splinters and cuts from sharp edges. Gloves also improve grip on tools, making work safer.
Choose sturdy gloves. They should fit well but not too tightly.
Tool Safety
Keep all tools away from children. Tools can be very dangerous in young hands. Store them in a locked cabinet or high shelf when not in use.
This prevents accidents in the home. It also teaches kids about tool safety.
Instruction Adherence
Following the manufacturer's instructions is crucial. It ensures correct installation and avoids damage. Not all laminate floors are the same, so their installation may differ.
Careful reading of guidelines prevents costly mistakes. It also ensures a smoother installation process.
Closing Thoughts
You're now armed with everything needed to tackle laminate flooring installation head-on. From prepping your space, gathering the right tools, to walking through each installation step, and sidestepping common pitfalls, you've got the roadmap. Safety's also been covered, so you can work smart and stay injury-free. This guide aimed to equip you with the know-how for a smooth DIY project, ensuring your floors look top-notch without the extra cost of professional help.
Remember, patience and attention to detail are your best friends here. If you ever hit a snag, revisit the steps or reach out for advice. Ready to transform your space? Roll up those sleeves and dive in. Your dream floors await! And hey, if you found this guide helpful, why not share it? Spread the knowledge and help others nail their home improvement projects too.
Frequently Asked Questions
What tools do I need for laminate flooring installation?
You'll need a tape measure, utility knife, hammer, spacers, and a tapping block. These tools ensure precise cuts and proper fitting.
How should I prepare my floor before installing laminate?
Ensure the subfloor is clean, dry, and level. Remove any debris or old flooring, and check for moisture levels to avoid future issues.
Can you explain the step-by-step process of installing laminate flooring?
Start by laying the underlayment, then place the first row of laminate planks along the longest wall, using spacers. Click each plank into place, staggering joints, and continue until you cover the floor.
What are common mistakes to avoid when installing laminate flooring?
Avoiding underlayment, not leaving expansion gaps around edges, and rushing through the installation can lead to problems. Take your time for a successful installation.
Are there specific safety tips I should follow during installation?
Wear safety glasses to protect your eyes from flying debris and knee pads for comfort while working on the floor. Also, keep your work area clean to prevent accidents.
Is it necessary to acclimate laminate flooring before installation?
Yes, it's crucial. Let the flooring acclimate to your home's temperature and humidity for at least 48 hours before installation to prevent warping or gapping later.
How do I handle doorways and uneven areas when installing laminate?
Cut planks to fit around door frames using a jigsaw. For uneven areas, use a leveling compound on the subfloor before laying the underlayment and planks.